
Annotating Photos with the Image Editor
The Image Editor is a full-featured annotation tool for marking up inspection photos. Use it to point out defects with arrows, box problem areas, label specific items, or draw attention to anything in a photo before it reaches the final report. This article is a deep reference for every tool, control, and keyboard shortcut.
Opening the Image Editor
Section titled “Opening the Image Editor”The same Image Editor opens from several places throughout nSpec. Wherever you see a photo thumbnail with an Edit button or pencil icon, clicking it opens this editor:
- Add / Edit Observation modal — click Edit on any photo slot
- Add / Edit Draft Observation modal — same, with the Show Draft Observations toggle ON
- Add / Edit Action Item modal — click Edit on any photo slot
- Photos tab — click a photo, then click the Edit icon
- Quick Capture modal — click Edit on a captured photo
- Add Specimen modal (water test inspections) — photo slot Edit buttons
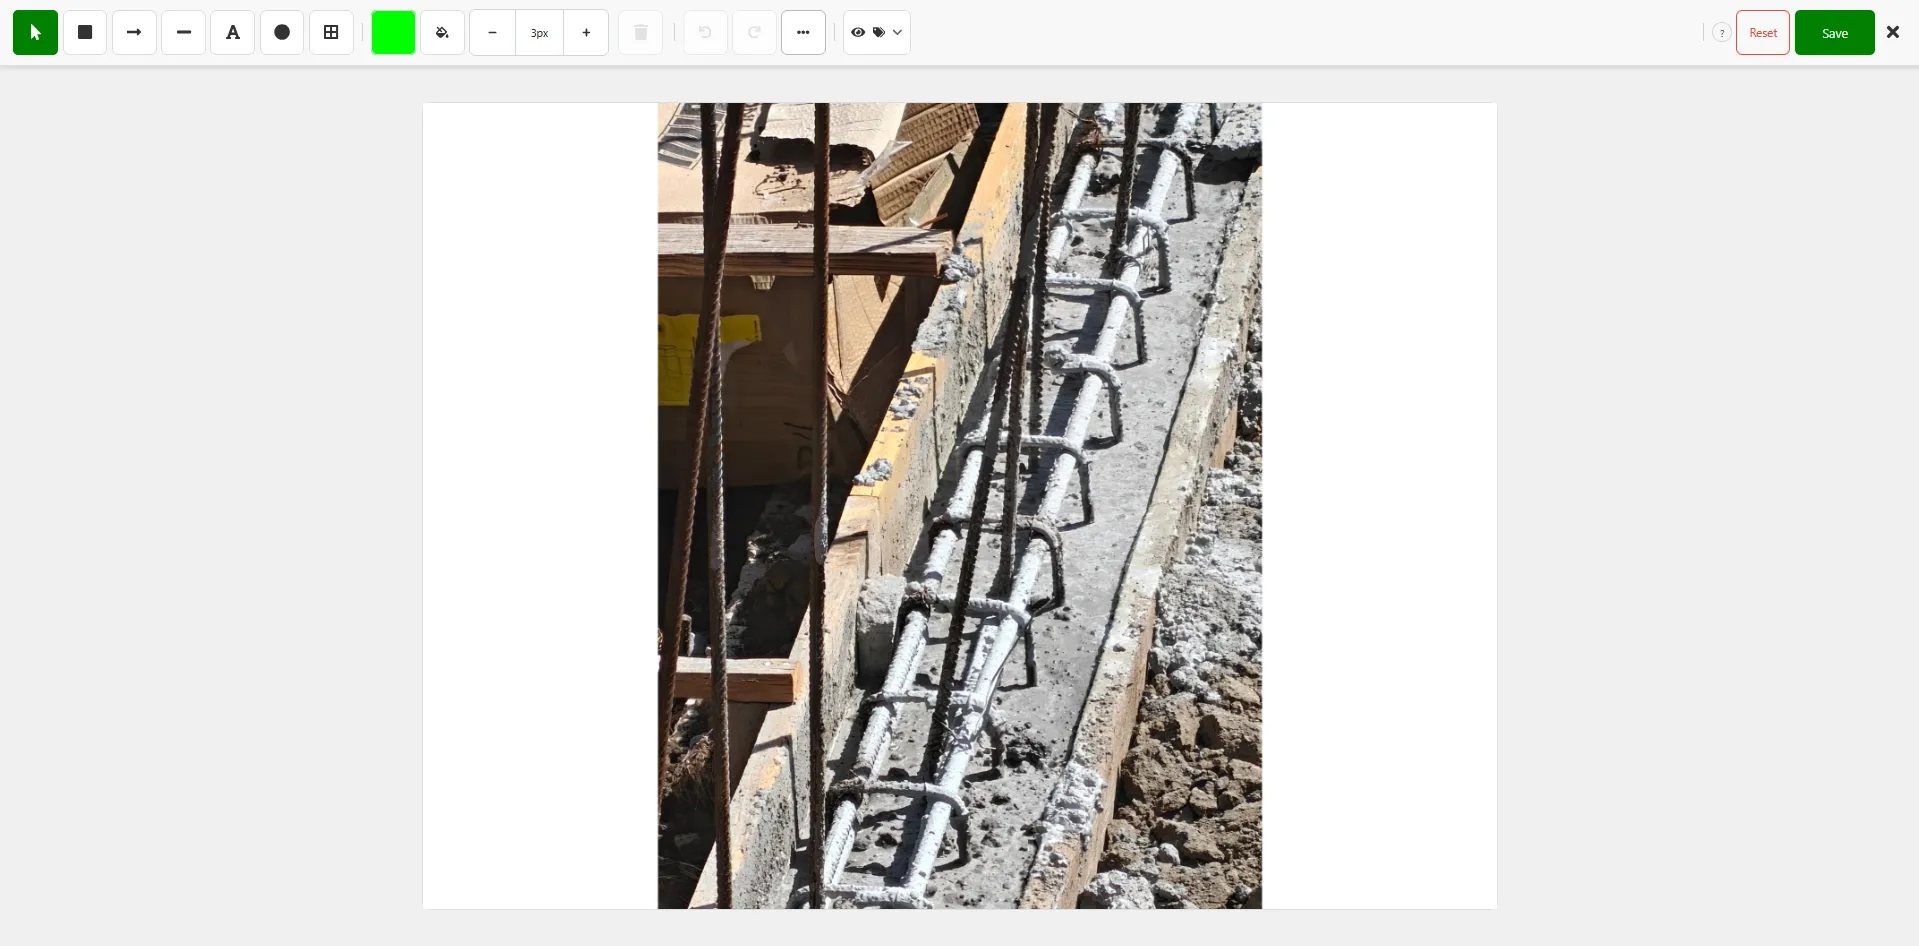
The editor opens as a full-screen modal with the photo in the center, the drawing toolbar across the top, and Reset / Save buttons in the top-right.
Drawing Tools
Section titled “Drawing Tools”Seven drawing tools live in the top toolbar. Each has a single-letter keyboard shortcut — hover any tool for a tooltip showing its name and shortcut.
| Tool | Shortcut | What it does |
|---|---|---|
| Select (arrow cursor) | V | Click any annotation to select it. Drag to move. Drag the handles to resize. Selected shapes show a dashed outline with resize handles. |
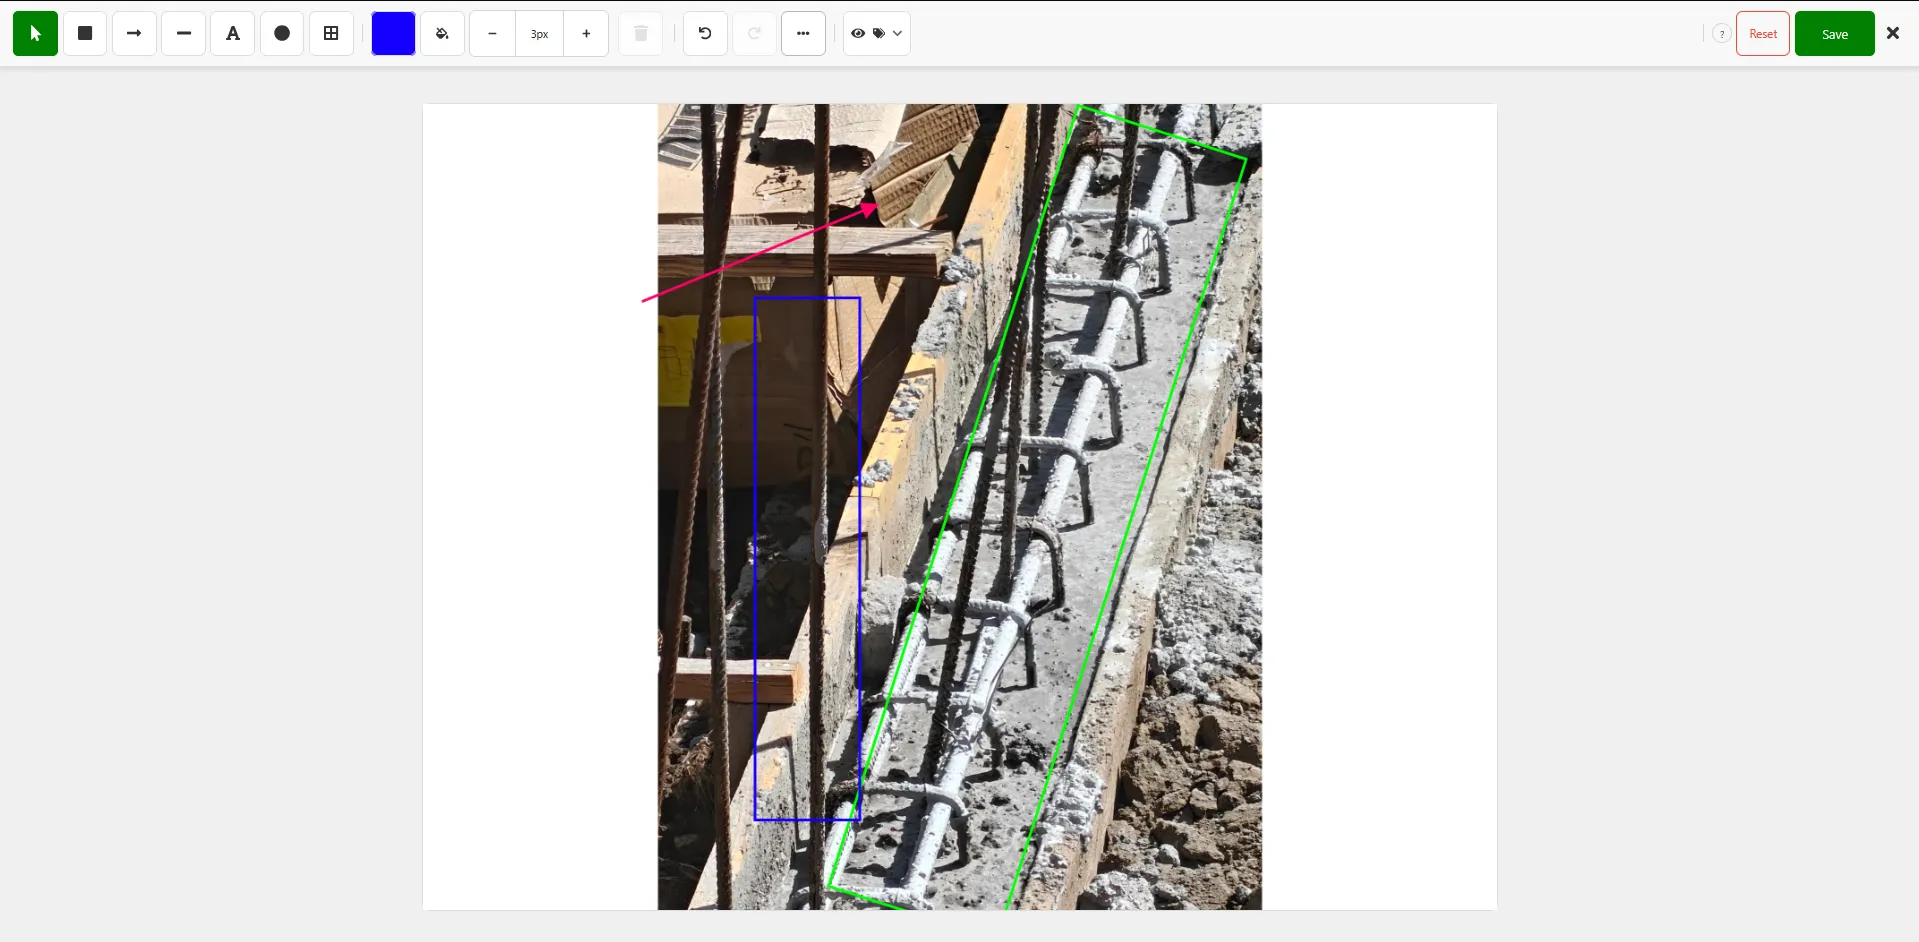
| Box (filled square) | B | Click and drag to draw a filled rectangle. The fill is translucent (30% opacity) so the photo remains visible underneath. |
| Arrow | A | Click and drag from tail to head. Use arrows to point at specific defects or items in the photo. |
| Line | L | Draw a straight line. Useful for indicating measurements, alignment, or relationships between items. |
| Text | T | Click where you want the label, type your text, then press Enter to place it. Press Escape to cancel. To edit existing text, double-click the text annotation. |
| Ellipse (filled circle) | E | Draw a filled oval or circle. Hold the ellipse over something you want to highlight or circle. |
| Border (empty rectangle) | O | Draw a rectangle with no fill — just a border. Useful for framing an area without obscuring what’s inside. |
Lock Tool (Double-Click)
Section titled “Lock Tool (Double-Click)”Normally, after you draw a shape the editor switches back to the Select tool. If you want to draw several shapes of the same type in a row, double-click the tool button instead of single-clicking it. The tool stays selected after each shape — draw as many as you like without re-selecting. A green ring around the tool button tells you it’s locked.
Single-click the tool (or any other tool) to unlock it and return to normal behavior. Lock is available on Box, Arrow, Line, Text, and Ellipse — not on Select or Border.
Styling Controls
Section titled “Styling Controls”Color Picker
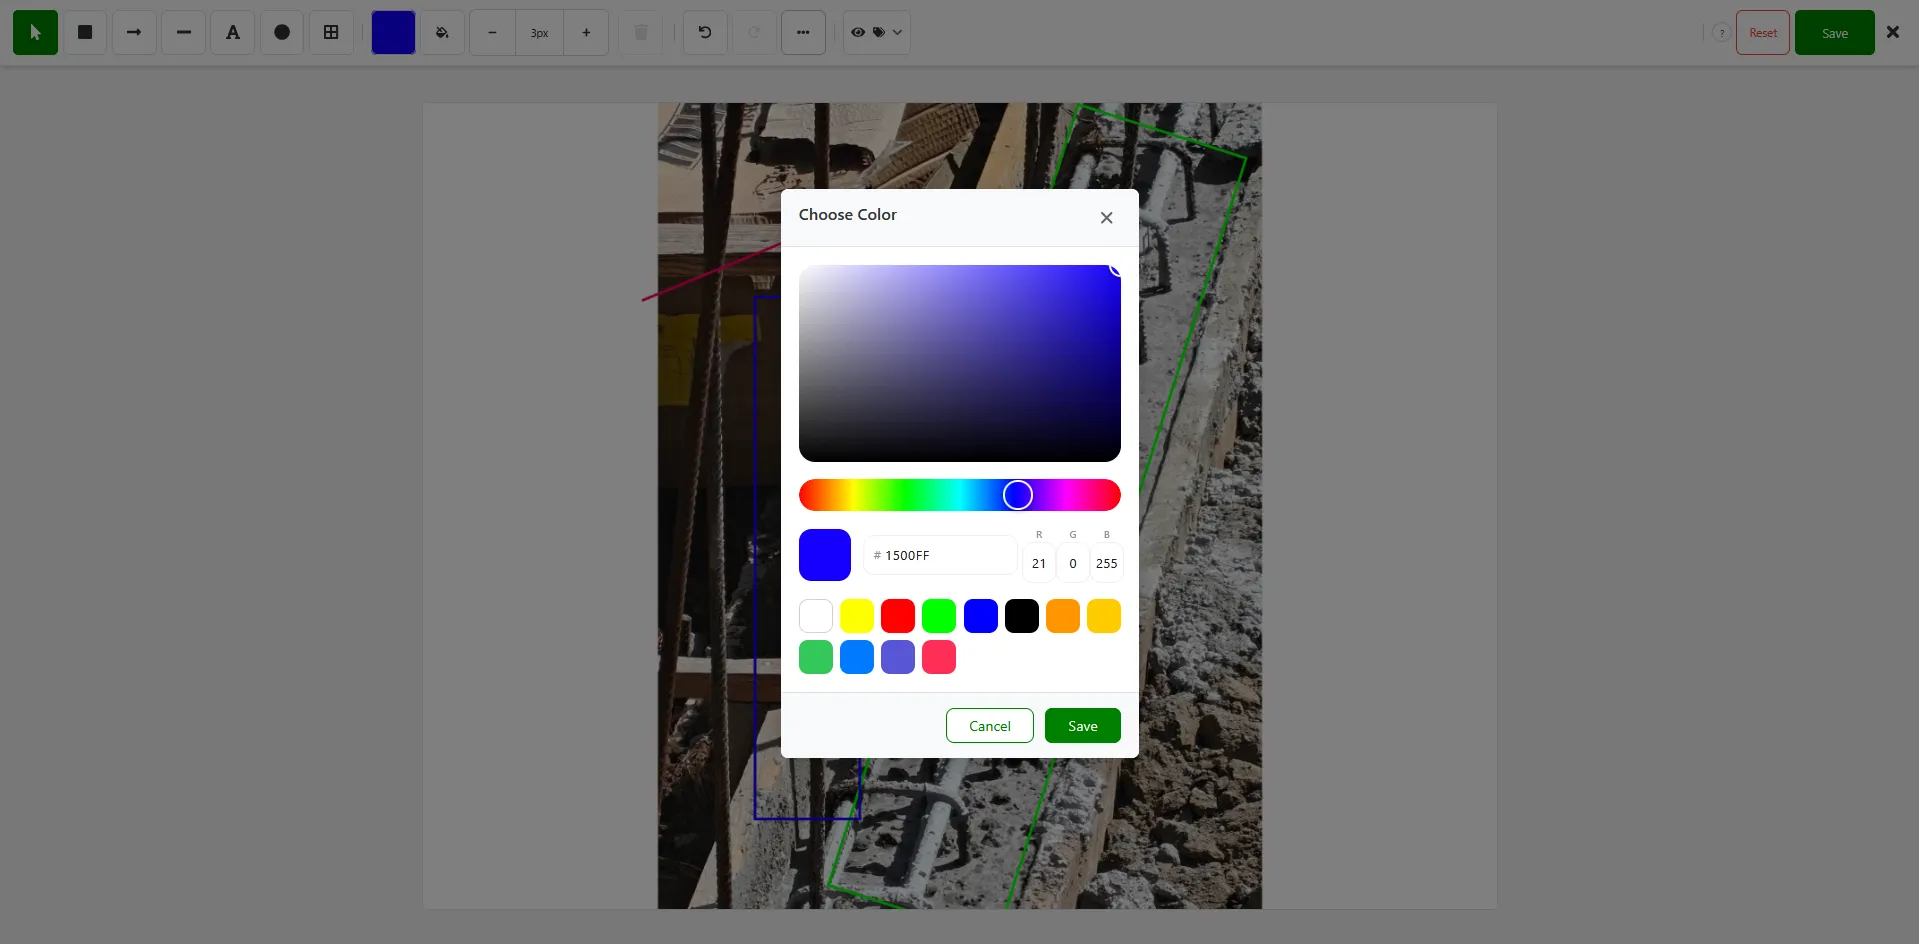
Section titled “Color Picker”Click the color swatch in the toolbar to open a full color picker. The default color
is bright green (#00FF00), which shows well against most construction backgrounds. You
can:
- Pick any color from the color wheel
- Enter a hex code manually
- Use the saturation/lightness sliders for fine-tuning
Each new shape uses the currently selected color. To change the color of an existing shape, select it first, then pick a new color.
Fill Toggle
Section titled “Fill Toggle”The fill toggle (paint bucket icon) controls whether Box and Ellipse shapes are drawn with a semi-transparent fill or as outlines only. When enabled, shapes get a 30% opacity fill in the current color — useful for highlighting areas without fully obscuring the photo underneath. The toggle has no effect on Arrow, Line, Text, or Border tools.
Size Slider
Section titled “Size Slider”The stroke width slider adjusts how thick your lines, arrows, and shape borders are. The range is 1 to 30 pixels. Thin strokes (1–4px) are good for precise annotations on detail shots; thicker strokes (8–20px) read better on wide shots where the final report viewer may be looking at a reduced-size image.
Delete Button
Section titled “Delete Button”The trash icon in the toolbar deletes the currently selected annotation. It works the same as pressing Delete or Backspace — pick whichever is faster for you.
Canvas Controls
Section titled “Canvas Controls”The Overflow Menu (…)
Section titled “The Overflow Menu (…)”The three-dot menu in the toolbar opens an overflow panel with controls that don’t fit in the main toolbar row:
- Zoom in / Zoom out — same as the zoom buttons, plus a reset-to-1x option
- Flip Horizontal — mirrors the photo left-to-right
- Flip Vertical — mirrors the photo top-to-bottom
- Rotate 90° — rotates the photo clockwise
Flip and rotation changes are saved with the annotations when you click Save. The button background highlights when a flip or rotation is active so you can see at a glance that the image is transformed.
Zoom is accessible from both the overflow menu and toolbar buttons:
- Zoom range: 0.5x (zoomed out) to 3.0x (zoomed in)
- Reset button — returns to 1.0x (fit to screen)
- Pan while zoomed: when zoom is greater than 1.0x and the Select tool is active with nothing selected, the cursor becomes a grab hand. Click and drag to pan around the image.
- Pinch-to-zoom (mobile/tablet): on touch devices, pinch with two fingers to zoom in or out. Two-finger drag pans the canvas when zoomed in.
Annotation Visibility Filter
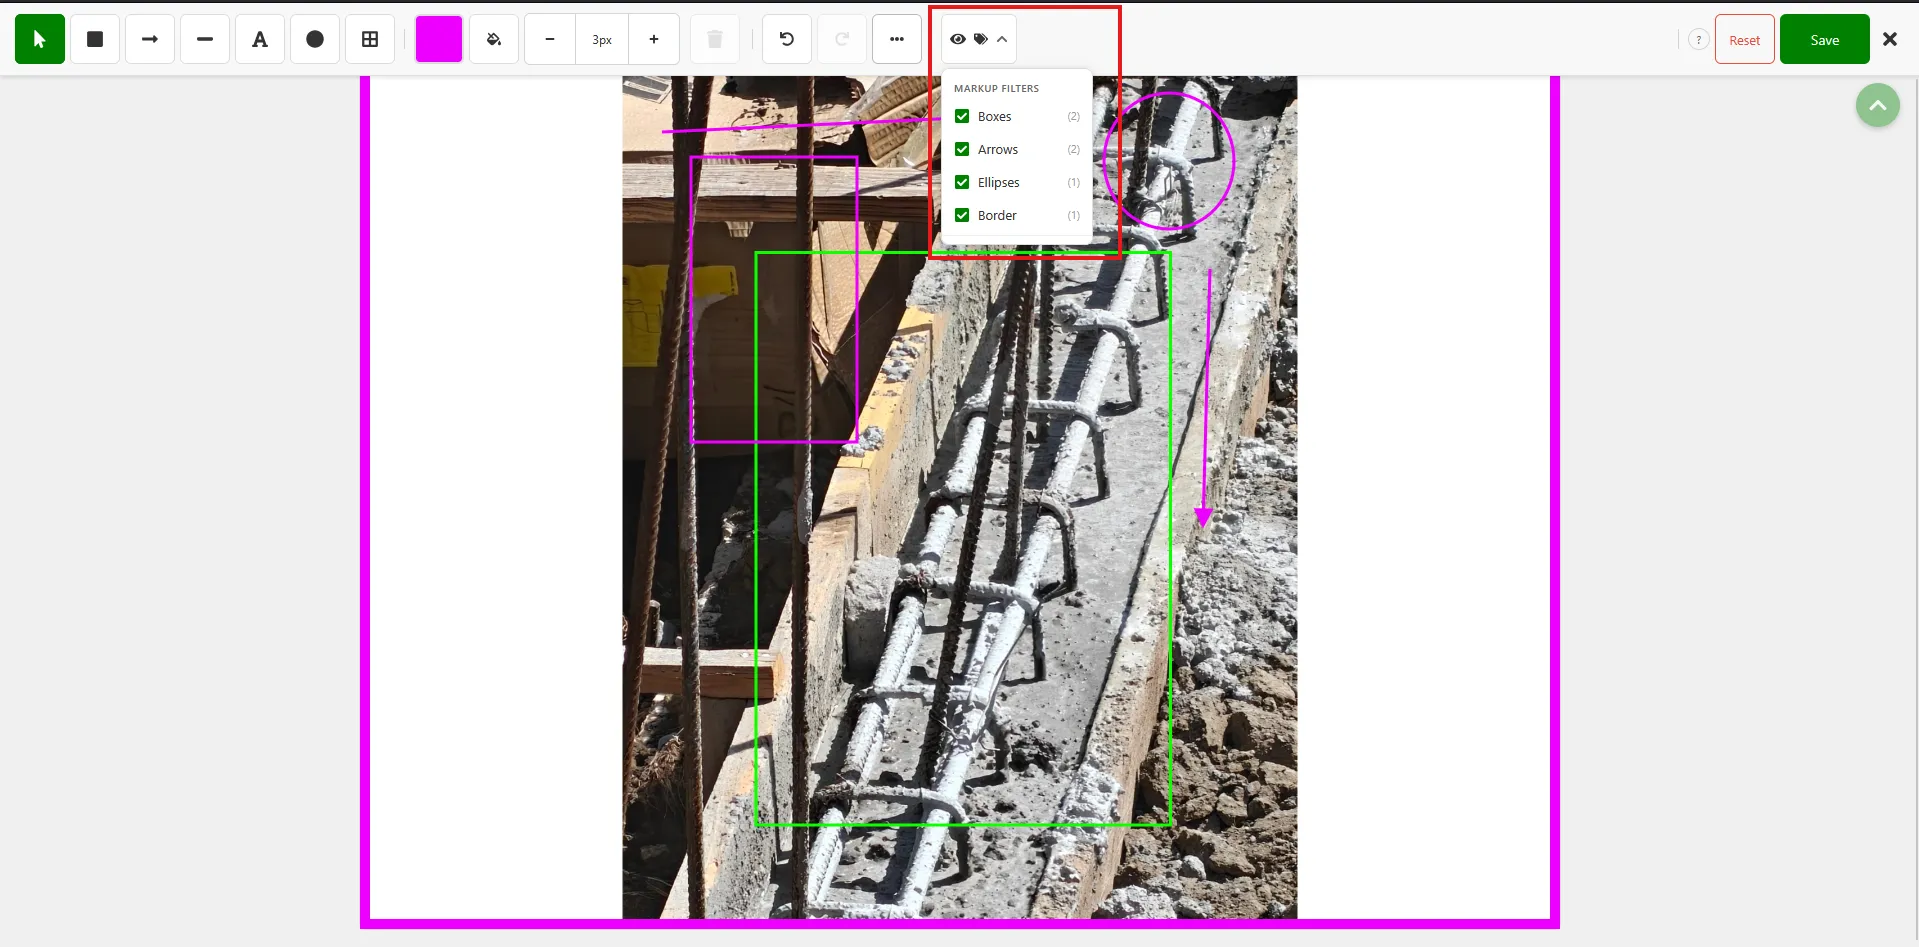
Section titled “Annotation Visibility Filter”Click the filter dropdown in the toolbar to show or hide annotation categories without deleting them. Useful when a photo has many annotations and you want to focus on just one type (e.g., hide all Text labels while drawing more arrows).
Each annotation type (Box, Arrow, Line, Text, Ellipse, Border) has its own visibility checkbox. If the photo has AI-detected annotations tagged with photo tag names, those tag names also appear as filter options so you can show or hide detections by condition type. Hidden annotations remain in the file — they just don’t render on the canvas temporarily.
Undo and Redo
Section titled “Undo and Redo”| Action | Windows / Linux | Mac |
|---|---|---|
| Undo | Ctrl+Z | ⌘+Z |
| Redo | Ctrl+Shift+Z | ⌘+Shift+Z |
Or use the Undo and Redo buttons in the toolbar. The editor batches drag operations into single history entries — moving a shape from one corner to another counts as one undo, not dozens.
Working with Selected Shapes
Section titled “Working with Selected Shapes”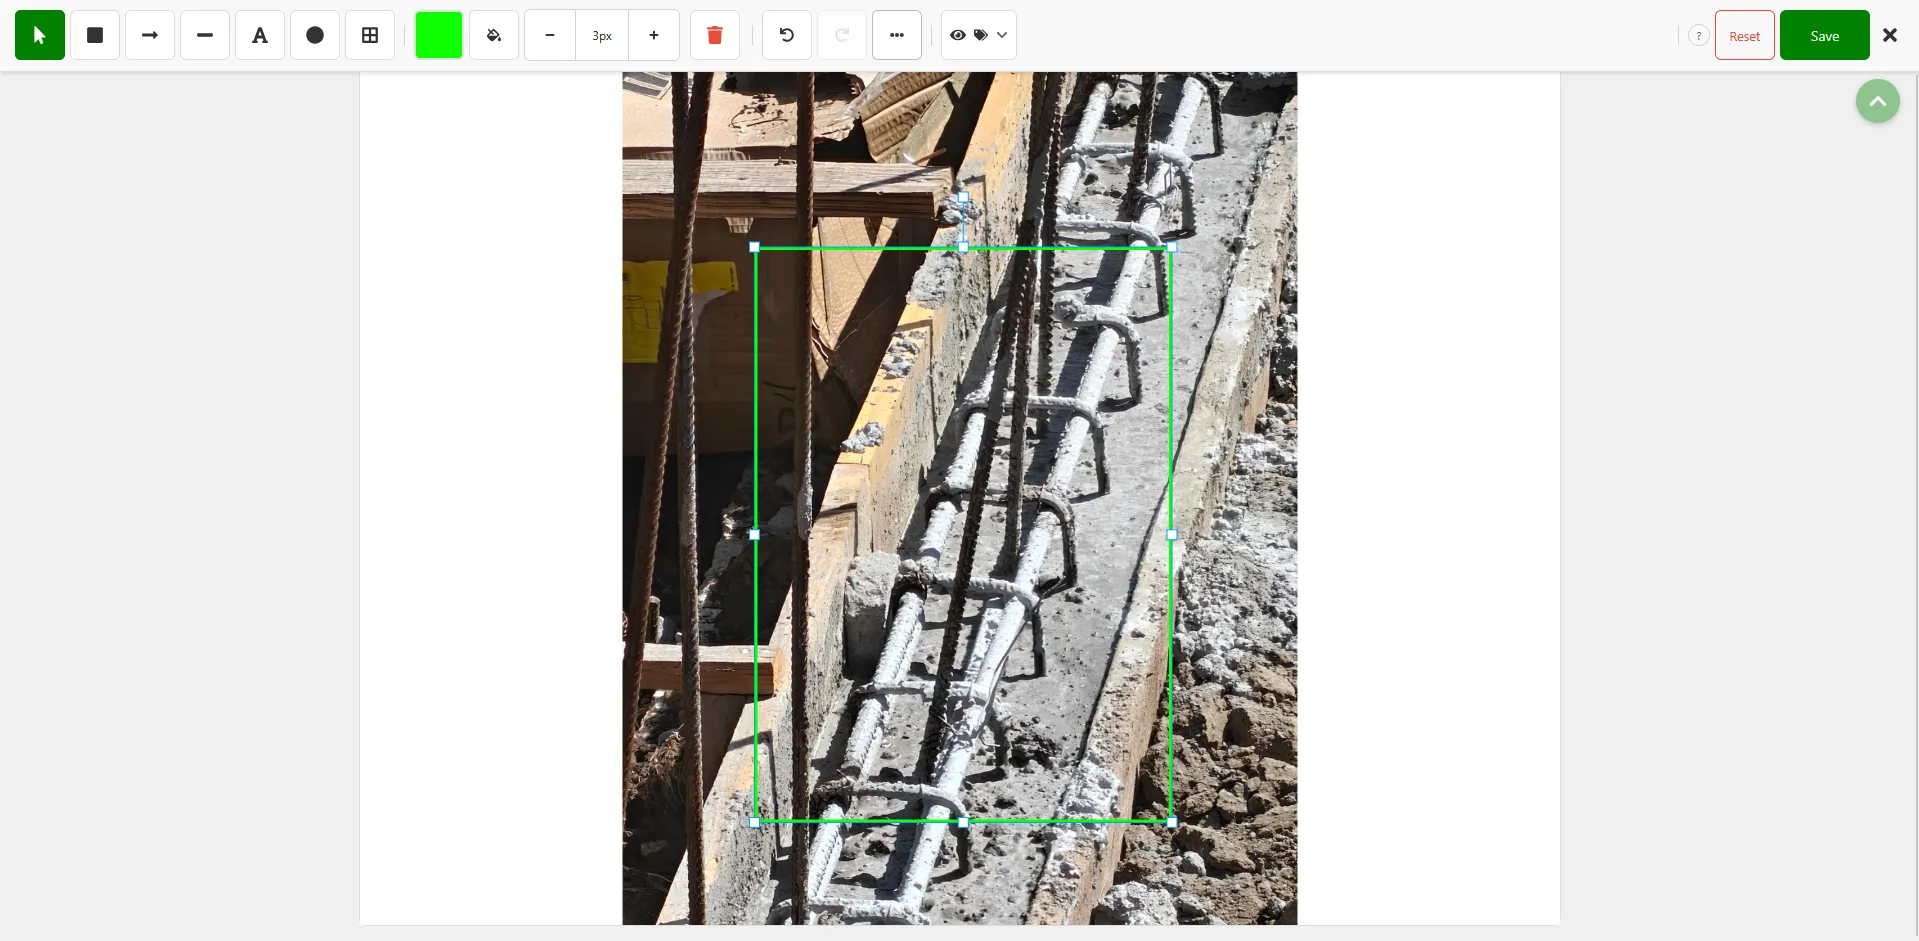
With a shape selected (using the Select tool):
- Move — drag it
- Resize — drag any corner or edge handle
- Delete — press Delete or Backspace, or click the trash icon in the toolbar
- Deselect — press Escape or click an empty area
- Change color — pick a new color while the shape is selected
- Change stroke width — adjust the size slider while the shape is selected
Saving and Re-Editing
Section titled “Saving and Re-Editing”Click Save (top-right, green) to commit your annotations. The editor generates a rendered version of the photo with annotations baked in, and preserves the original photo plus the editable annotation data. That means:
- The report uses the rendered (annotated) version
- You can re-open the editor later and your annotations are still editable — move, resize, delete, or add more
- Your original photo is never modified; annotations are a separate layer
Click Reset (top-right, red) to remove all annotations from the photo. This reverts the photo back to the original unedited version. Reset is permanent once you save — it cannot be undone by the undo button after closing the editor.
Close (X)
Section titled “Close (X)”Click the X button to close the editor. If you have unsaved changes (new annotations, moved shapes, or flip/rotation edits), a confirmation dialog appears: “You have unsaved changes.” Choose Discard to close without saving, or Cancel to go back to the editor and keep working.
Using the Editor on a Tablet
Section titled “Using the Editor on a Tablet”The Image Editor works on iPads and tablets with touch controls:
- Pinch to zoom — two-finger pinch gesture zooms in or out
- Two-finger drag — pans the canvas when zoomed in
- Tap and drag — draws shapes the same way as click-and-drag on desktop
Help Panel
Section titled “Help Panel”Click the ? button (top-right, next to Reset) to open a built-in reference panel listing every tool, keyboard shortcut, and toolbar feature. The panel floats over the canvas and can be dismissed by clicking outside it. It’s the same information in this article, condensed into a quick-reference card you can check without leaving the editor.
Keyboard Shortcut Reference
Section titled “Keyboard Shortcut Reference”| Shortcut | Action |
|---|---|
| V | Select tool |
| B | Box tool |
| A | Arrow tool |
| L | Line tool |
| T | Text tool |
| E | Ellipse tool |
| O | Border tool |
| Delete / Backspace | Delete selected shape |
| Escape | Deselect / cancel text input / close dropdown |
| Ctrl+Z / ⌘+Z | Undo |
| Ctrl+Shift+Z / ⌘+Shift+Z | Redo |
| Enter (while typing text) | Commit text label |
Best Practices
Section titled “Best Practices”- Annotate for the reader, not yourself. Someone opening the final report shouldn’t need context — the annotation should point at the problem and explain it with a short text label.
- Use arrows, not boxes, to point at small defects. A box around a hairline crack obscures the crack itself; an arrow pointing to it makes the defect visible.
- Use Border (not Box) when you need to frame something without hiding it. Great for electrical panels, meters, or any area where the contents matter.
- Keep text labels short. “Crack – west wall” reads better than a long sentence. Put the full context in the observation text.
- Pick a color that contrasts with the scene. Bright green (the default) works for most construction photos; use red or yellow for photos that already have lots of green.
- Don’t over-annotate. Three clear annotations beat ten cluttered ones. If you have many issues on one photo, consider splitting them across multiple photos.
Troubleshooting
Section titled “Troubleshooting”Keyboard shortcuts aren’t working
Section titled “Keyboard shortcuts aren’t working”Solutions:
- Shortcuts are disabled while you’re typing in a text input or textarea — click outside the input first
- If a tool shortcut doesn’t respond, make sure no dropdown (filter, color picker) is open and has captured focus
I can’t move or resize a shape
Section titled “I can’t move or resize a shape”Solutions:
- Make sure the Select tool is active (press V) before clicking the shape
- If you were drawing with another tool, you have to switch to Select first — you can’t drag shapes while Box, Arrow, etc. is active
My annotations disappeared after saving
Section titled “My annotations disappeared after saving”Solutions:
- Click the Edit button to re-open the photo in the editor — your annotations are preserved as an editable layer and should still be there
- If you clicked Reset before saving, all annotations were removed intentionally
- If you were offline when saving, check the Offline Hub to make sure the edit synced
I typed text but it didn’t appear
Section titled “I typed text but it didn’t appear”Solutions:
- Press Enter to commit the text after typing
- If you pressed Escape mid-typing, the text was cancelled — click the Text tool again and retry