
Helpful Links Admin
The Helpful Links Admin dashboard lets administrators create and manage the categories and links that appear on the Helpful Links page for your organization. You can add new categories, organize links with custom icons, reorder items, and control which links are visible to your tenant or shared globally across all tenants.
Accessing Helpful Links Admin
Section titled “Accessing Helpful Links Admin”- Open Helpful Links and click Manage links — the gear button, visible only to administrators.
- The admin dashboard has two tabs: Categories and Links.
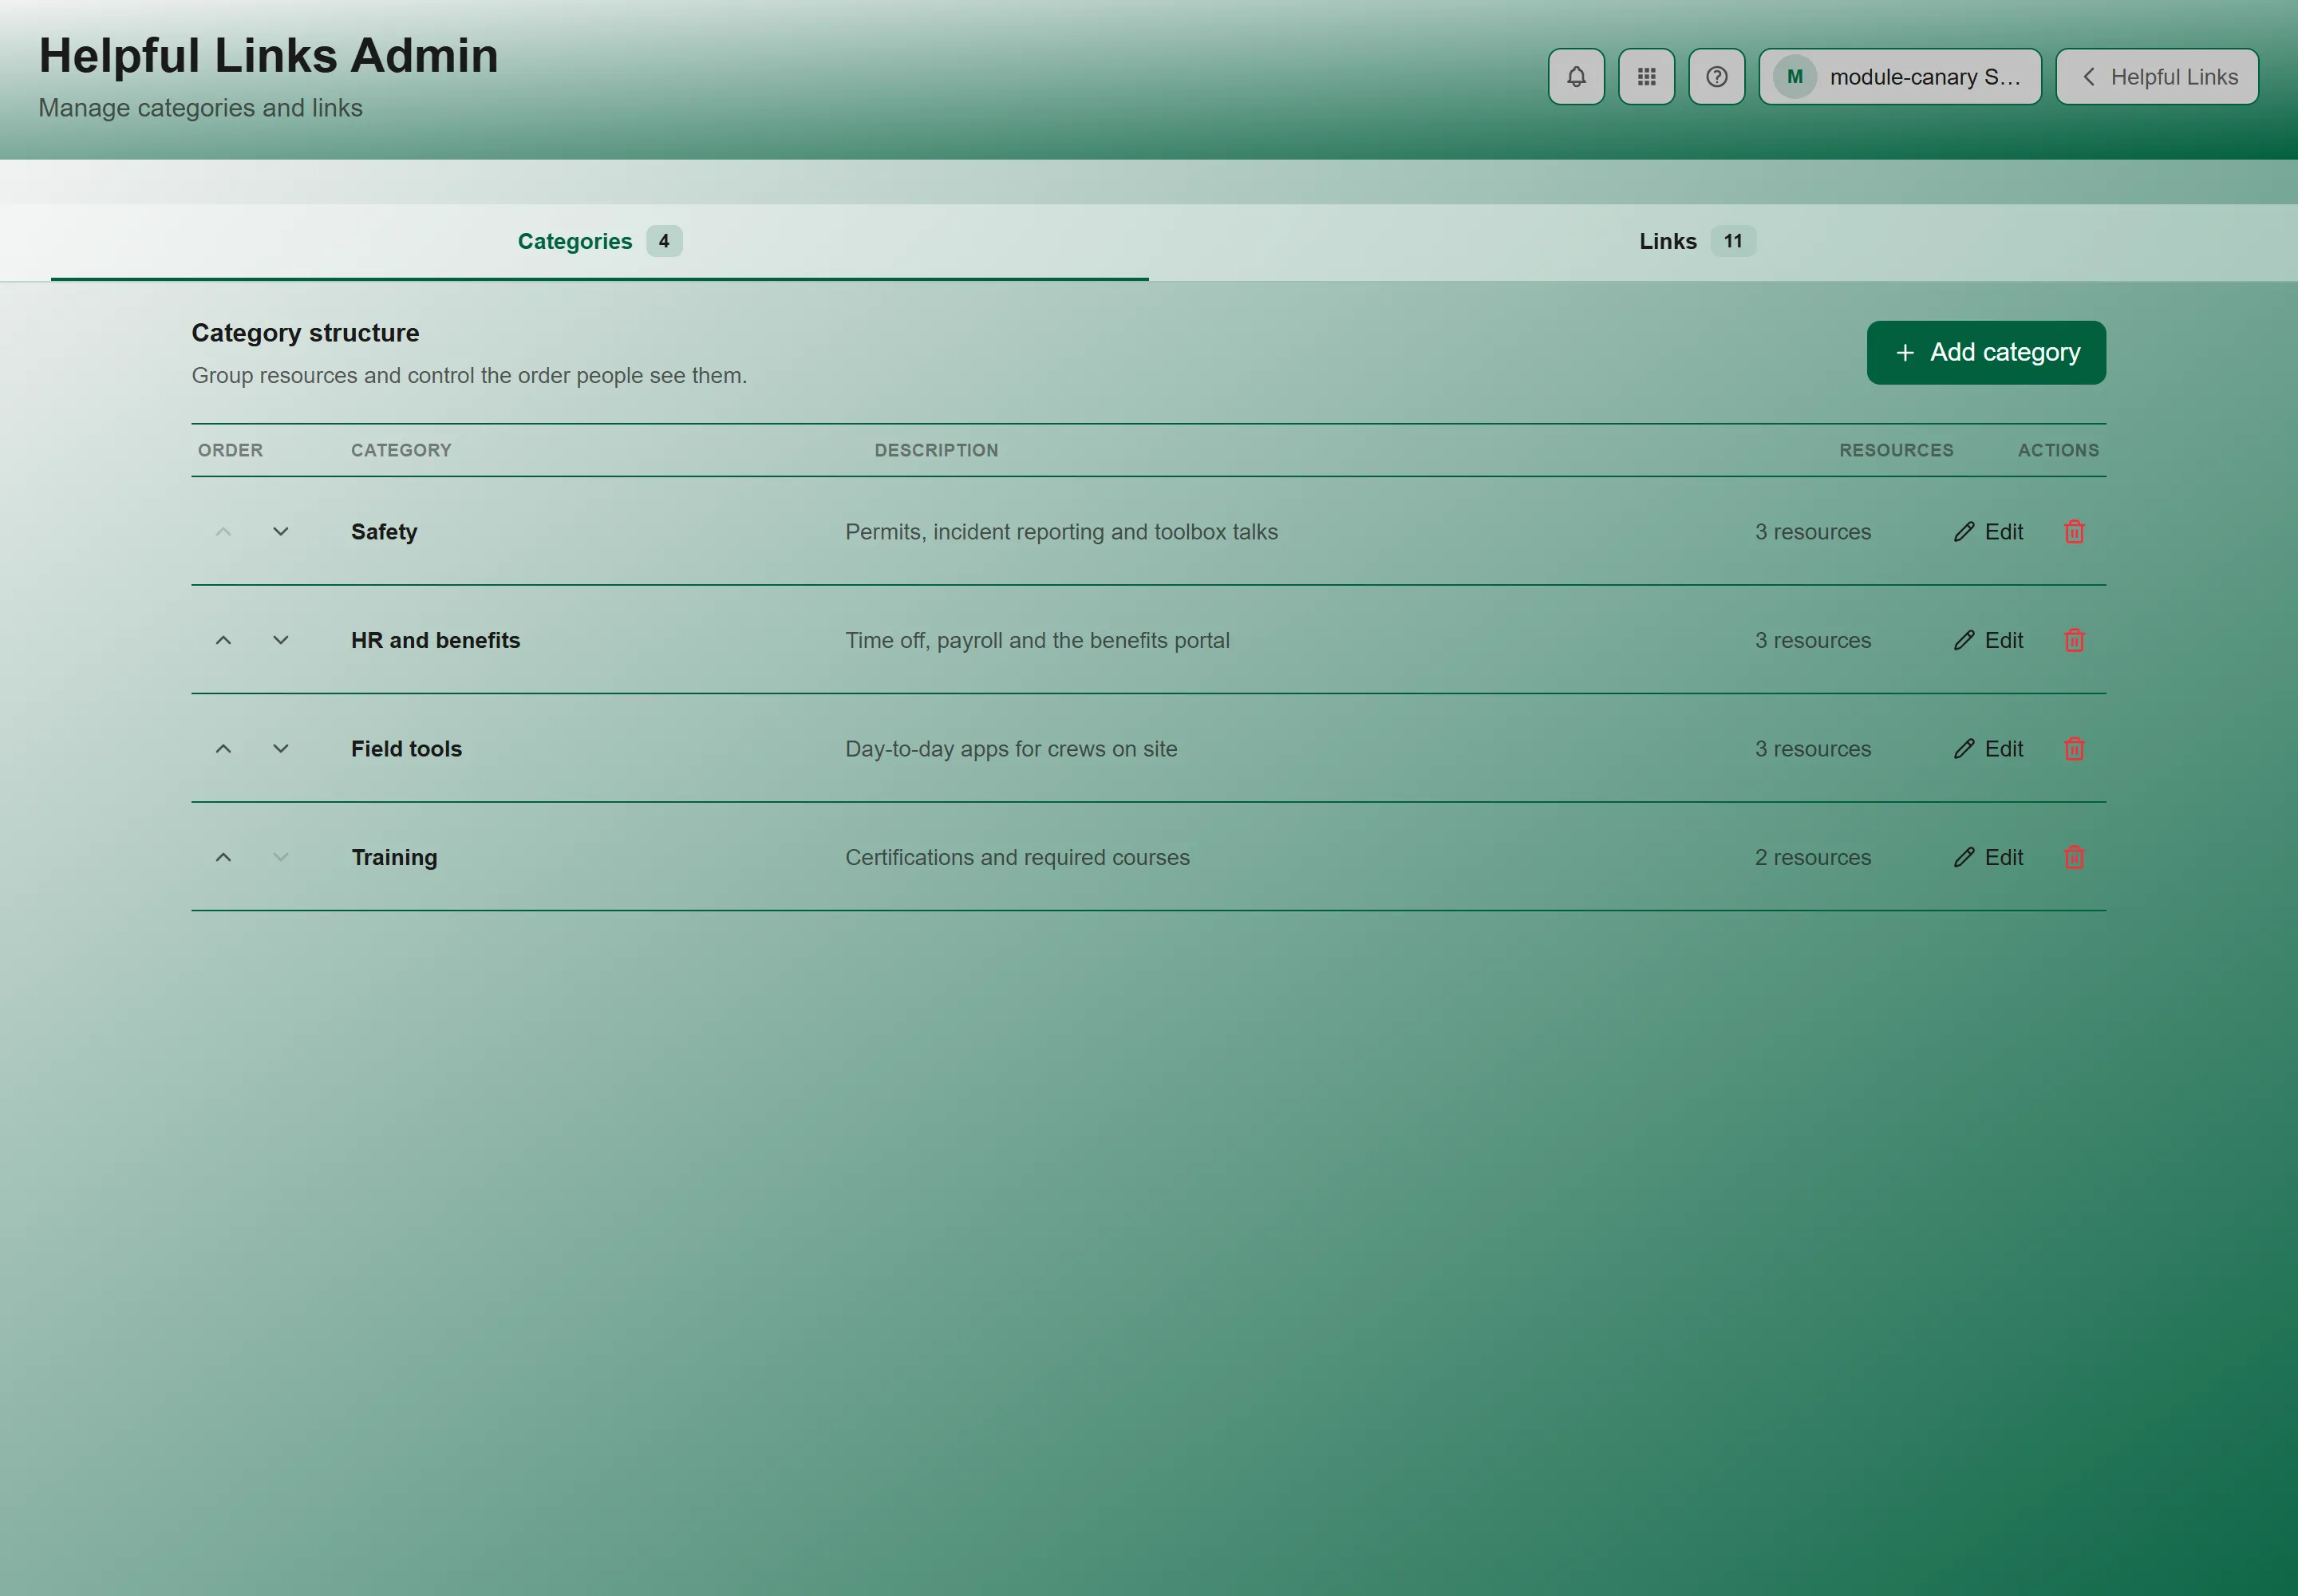
Categories Tab
Section titled “Categories Tab”Categories organize your links into groups (e.g., HR, Finance, Production).
Creating a Category
Section titled “Creating a Category”-
Click Add category.
-
The New category dialog has two fields:
- Name — required.
- Description — optional.
-
Click Save category.
Each tab header carries a live count, so Categories and Links tell you how many of each you have without opening them.
Reordering Categories
Section titled “Reordering Categories”Use the up/down chevron buttons on each category row to change the display order. The order you set here is the order users see on the Helpful Links page.
Editing and Deleting Categories
Section titled “Editing and Deleting Categories”- Edit (pencil icon) — opens the category form to change name or description
- Delete (trash icon) — removes the category and all links within it. A confirmation dialog shows how many links will be deleted.
Links Tab
Section titled “Links Tab”The Links tab shows all links across all categories. Use the Filter dropdown to narrow by category.
Creating a Link
Section titled “Creating a Link”- Click Add resource. The dialog is titled New resource.
- Fill in the fields. Category, Title, and URL are required; Description and Icon are optional.
- Click Save resource.
The New resource dialog has these fields:
| Field | Required | Notes |
|---|---|---|
| Category | Yes | Select which category this link belongs to |
| Title | Yes | The name shown on the link card |
| URL | Yes | The web address (must start with https://) |
| Description | No | Optional description shown on hover |
| Icon | No | Click to open the icon picker. Default: the link icon |
Icon Picker
Section titled “Icon Picker”Click the Icon button in the resource form to open the icon picker. It offers 98 icons, spanning:
- Business & Finance (credit card, wallet, calculator, etc.)
- HR & People (user check, ID card, graduation cap, etc.)
- Tech & Hardware (monitor, laptop, smartphone, keyboard, etc.)
- Cloud & Data (cloud, database, server, etc.)
- Documents & Files (file check, archive, book, etc.)
- Communication (message, video, headphones, etc.)
- Tools & Production (hammer, ruler, layers, truck, etc.)
- Security & Compliance (lock, key, fingerprint, etc.)
Click an icon to select it. The selected icon shows a highlighted border.
Reordering and Managing Links
Section titled “Reordering and Managing Links”- Reorder — use up/down chevrons to change link order within a category
- Edit (pencil icon) — modify the link’s title, URL, description, or icon
- Delete (trash icon) — remove the link with confirmation
What Users See
Section titled “What Users See”On the regular Helpful Links page, users see categories as green-header cards, each holding its links in a grid. Clicking a link opens the URL in a new tab. Users cannot reorder, edit, or delete anything — they only see the curated links you’ve set up.
Troubleshooting
Section titled “Troubleshooting”The “Add resource” button is disabled
Section titled “The “Add resource” button is disabled”Solutions:
- You need at least one category before you can add links. Create a category first.
I can’t edit a category marked “Available to all tenants”
Section titled “I can’t edit a category marked “Available to all tenants””Solutions:
- That category is published centrally rather than by your organization, so it is read-only here. Create your own category if you need one you control, or contact support if the shared one is wrong.