
Adding Images and Managing Assets
Every picture a template uses — a logo, a cover photograph, a page decoration — comes from one shared image library. This article covers uploading to it, using what is in it, and the two limits that decide whether a document renders.
Opening the Library
Section titled “Opening the Library”Click Images in the sidebar. The panel describes what it holds — “Logos and marks for templates; PDF exhibits for proposals.” — and with nothing uploaded yet it says “No images yet”: “Upload your logo, then press Image frame in the builder to place it.”
Inside the editor the same library is on the Images tab, which carries a count of the pictures you can place.
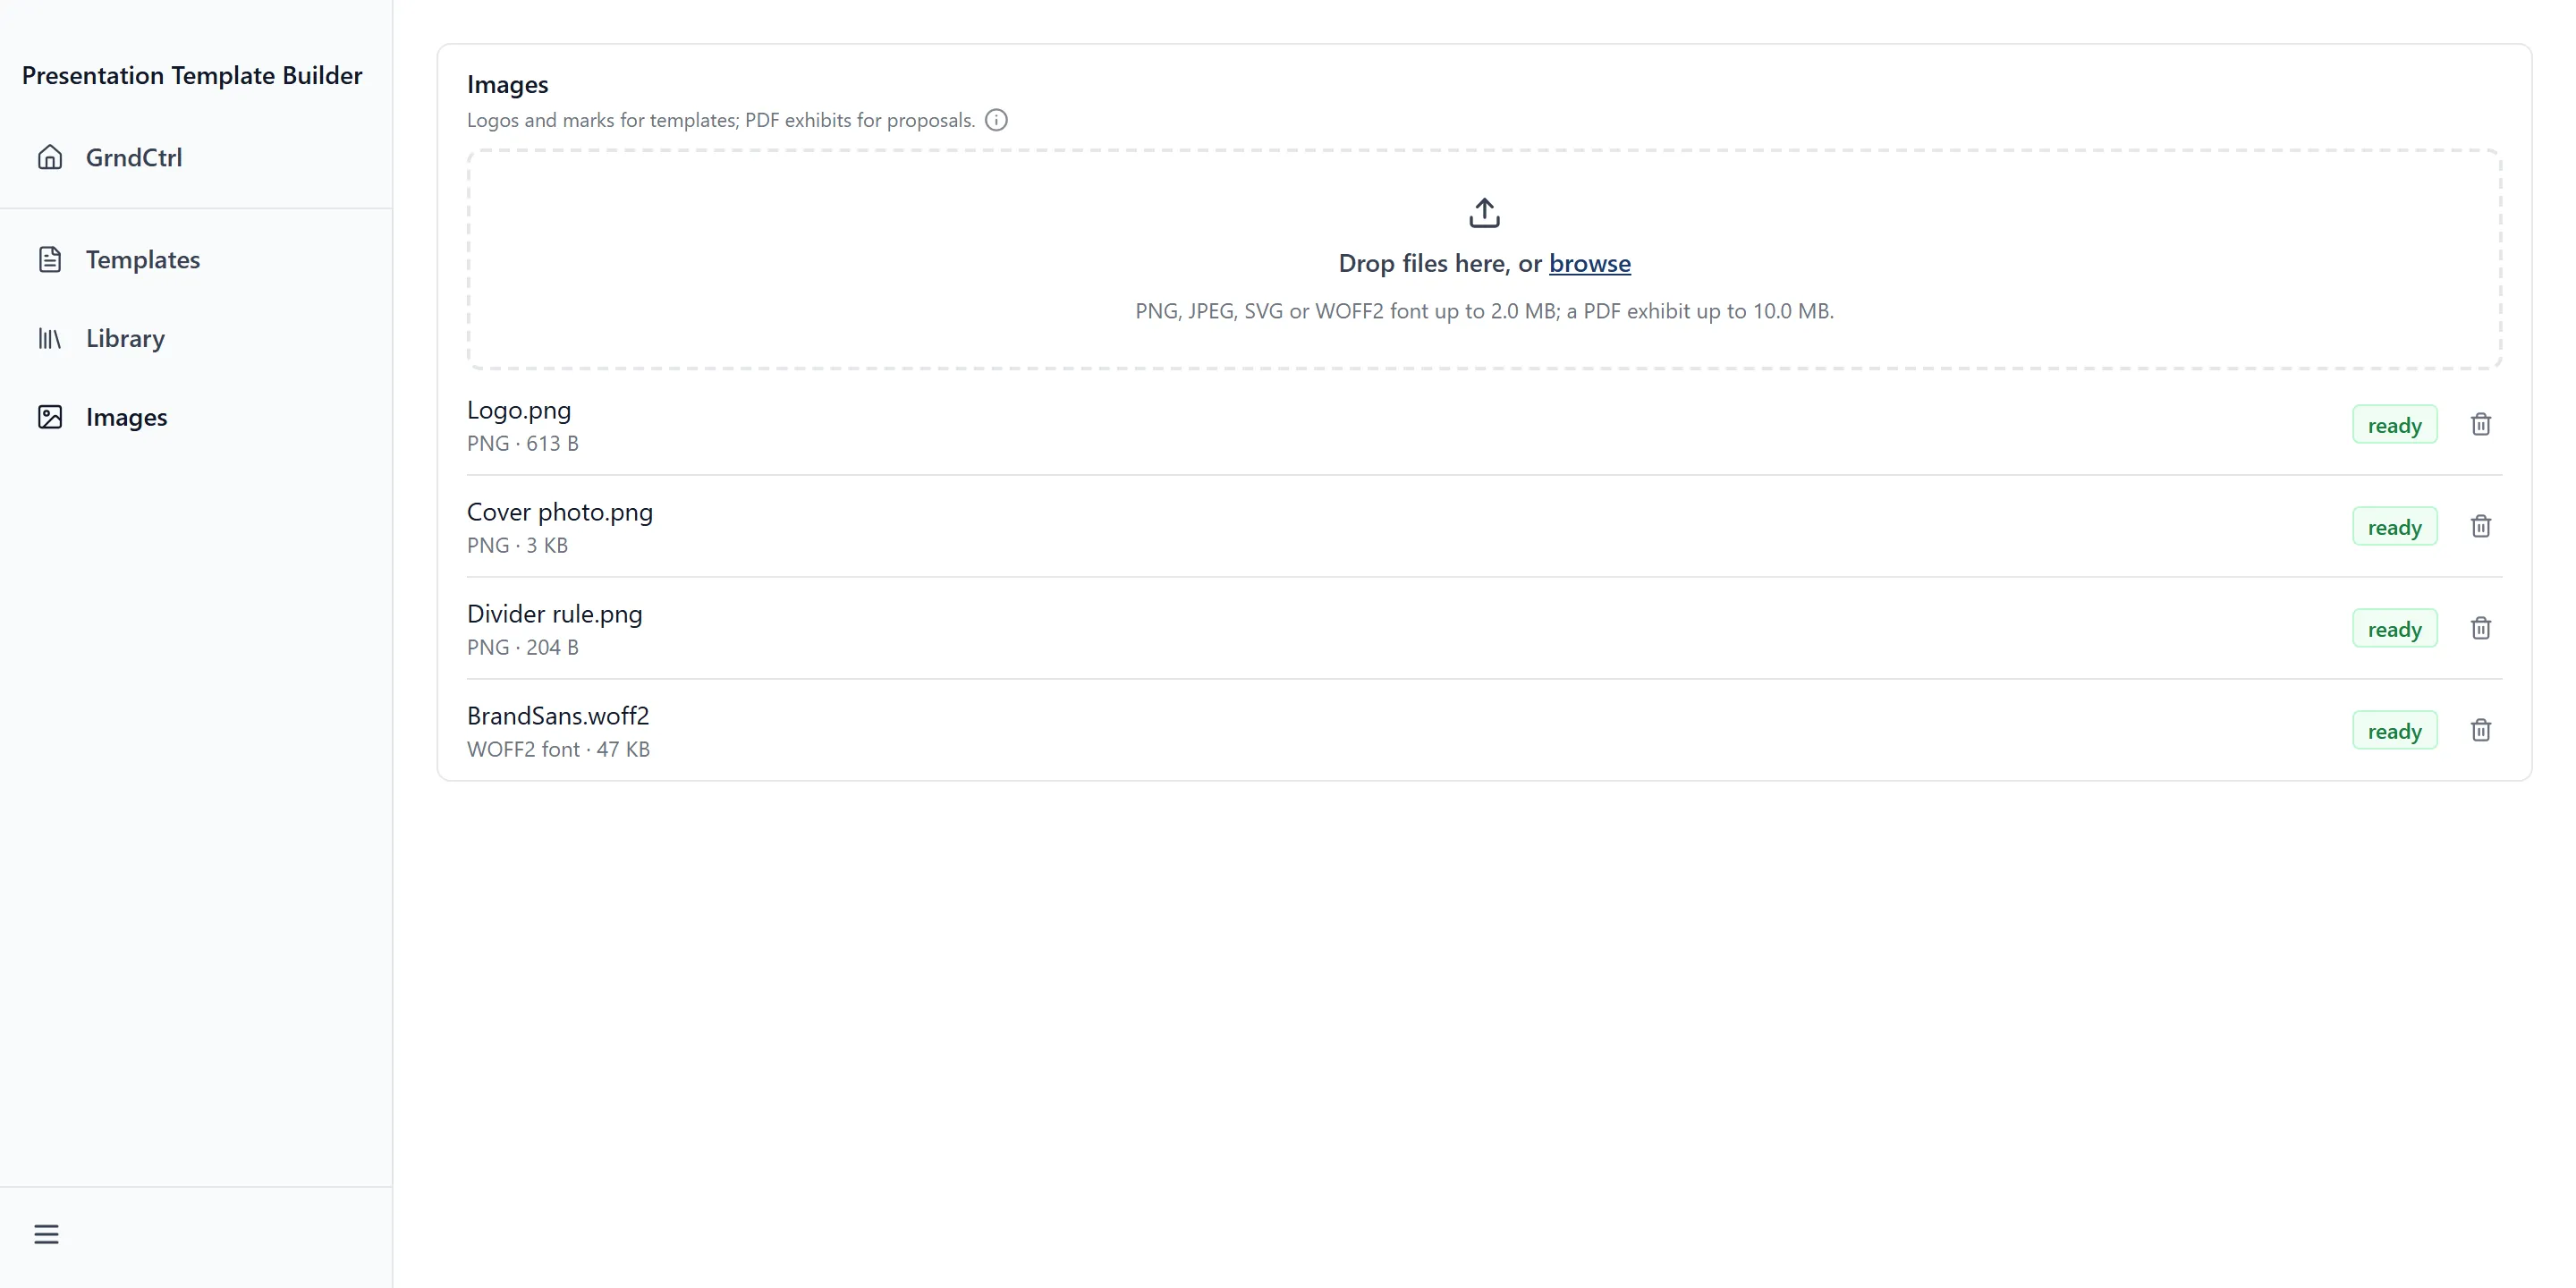
Uploading a File
Section titled “Uploading a File”- Open Images.
- Drop a file onto the upload control, or click browse to choose one. The control names what it takes: “PNG, JPEG, SVG or WOFF2 font up to 2.0 MB; a PDF exhibit up to 10.0 MB.”
- Wait for the upload to finish. A completed one carries a ready badge, and only a ready file can be placed in a document.
| What it takes | Limit |
|---|---|
| PNG, JPEG and SVG pictures | 2 MB each |
| WOFF2 fonts, for your own brand face | 2 MB each |
| PDF exhibits, attached to a document that goes for signature | 10 MB each |
Placing a Picture
Section titled “Placing a Picture”Uploading does not put anything in a document. To place a picture:
- Open the template and go to the Outline tab.
- Click Image frame in the toolbar to add an empty picture box.
- With the box selected, choose the picture from the inspector.
A picture can also be a page’s Decoration or a logo in a header or footer band, both of which are set on Page setup.
Cropping and Tinting
Section titled “Cropping and Tinting”You can crop a picture, and you can tint it. Both make a new picture in the library and leave the original untouched, so a crop is never destructive and the file you uploaded is always still there.
Deleting a Picture
Section titled “Deleting a Picture”Deleting asks first, and the confirmation says what survives: “Any template still using this image will render a gap where it was, and the editor will list it as missing. The stored file itself is left in place.” The confirming button is Delete.
The Render Budget
Section titled “The Render Budget”Two different limits apply, and they catch different problems:
- 2 MB per file — checked when you upload. A larger file is refused with the reason.
- About 6 MB per document — the total of every picture the document places. The editor shows a meter as you approach it, and past the cap a render is likely to fail.
Troubleshooting
Section titled “Troubleshooting”My upload was refused
Section titled “My upload was refused”Solutions:
- Check the file’s size against the 2 MB limit, and its type against the list on the upload control. The refusal names which of the two it was.
- Save a photograph as a JPEG rather than a PNG if it is over the limit — the same picture is usually far smaller.
A picture is listed but I can’t place it
Section titled “A picture is listed but I can’t place it”Solutions:
- The upload did not complete. An unfinished upload is listed with a badge saying so, and a template cannot use it.
- Upload the file again. The panel’s own note explains the state.
A template says a picture is missing
Section titled “A template says a picture is missing”Solutions:
- The picture was deleted from the library. Upload a replacement and point the picture box at it.
- The document keeps rendering meanwhile — it prints a gap where the picture was, so a missing picture never blocks a quote.
The PDF fails to render and my document has a lot of images
Section titled “The PDF fails to render and my document has a lot of images”Solutions:
- Check the image budget meter. Past its cap a render is expected to fail rather than to be slow.
- Crop the largest pictures to the size they actually print at, or remove one. A crop is a new picture, so the original is still there if you need it back.
Related Articles
Section titled “Related Articles”- Designing a Template — Adding an image frame and placing a picture in it
- Setting Up Pages, Headers and Footers — Page decorations, band logos and brand fonts
- Previewing and Publishing a Template — Checking the real render before publishing